Making a custom gobo for your gobo spotlight
In this how-to, we'll learn how to make a custom gobo using nothing but readily available resources and freely available editing software for a fraction of the cost of a professional piece.
What you'll need

Before we can begin, you'll need to make sure you have the following items to hand...
- A spotlight that can accept a "gobo" disc. I used the Chauvet LFS5 compact spotlight, which takes a 26mm gobo.
- Your computer, running an installation of your favourite graphics editor.
- A printer, either inkjet or laser will work.
- Transparency film. Make sure you buy the right stuff for your printer. It will NOT work in a printer it isn't supposed to work in.
- Some half decent scissors or a fine crafting knife. Also a steady hand works wonders here :-)
Design the gobo
Okay, so first we will need to design the image that will be projected from our spotlight. Hop onto your computer and fire up your favourite graphics editor. Paint isn't really suitable for what we are doing here, but if you're very patient, it can be used. Photoshop, Fireworks or Gimp will make your life a lot easier. If you do not have any suitable software, why not check out the fantastic, open source Gimp editor. It will give even the most expensive software a run for its money, but is totally free and works with Windows, OSX, Linux etc.

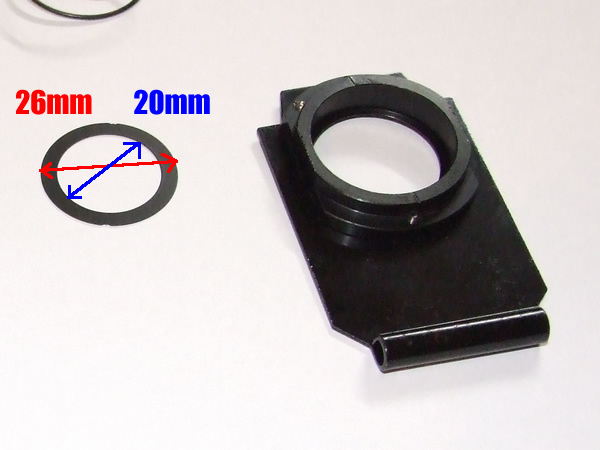
There are a couple of things we can do to make our lives easier before designing the gobo. First of all, remember that parts of the image set to white will show as completely transparent on the final print out. Secondly, we need to leave a border around the edge of your design, otherwise you will lose the edges of your graphic. For example, The Chauvet spotlight takes a 26mm gobo, but only the inner 20mm shows on the projection. Gobo sizes can vary, so measure your spotlight to see what size you'll need to make. We have two ways to deal with the border issue. You could measure the supporting disc from the slide (see image) and create a border area when designing your graphic, or you could just print out the design so that it fits the inner dimension, and carefully mark out a border using a pen before cutting.
When it comes to gobos, some of the most effective designs are the simplest. Designs with lots of colours tend to project poorly compared to black and white designs. Silhouettes almost always look better than something complex and colourful. For best results, make several variations of your design, and print them all out together. If you have a high quality printer, it will allow you to make more intricate designs with much finer detail. You may wish to borrow a friends printer for the final design.
Once you have designed your image, you'll need to get it to print at the right size. After hitting the print button, you will be presented with a settings menu. Here, you can specify what size the image will be printed. Set it to the size of your gobo. For the Chauvet gobo, set it to 2.6cm if you added a border, or 2.0cm if you didn't add the border. Note that some printers may produce an image slightly larger or smaller than what you entered. If this is the case, you'll have to adjust the print dimensions accordingly. When placing the transparency film into the printer, make sure it is the right way up. For inkjet printers, you want to print onto the rough side. Set the print quality to high, and allow the ink several minutes to dry after printing. For laser printers, you don't have to wait for your design to dry.
Try it out

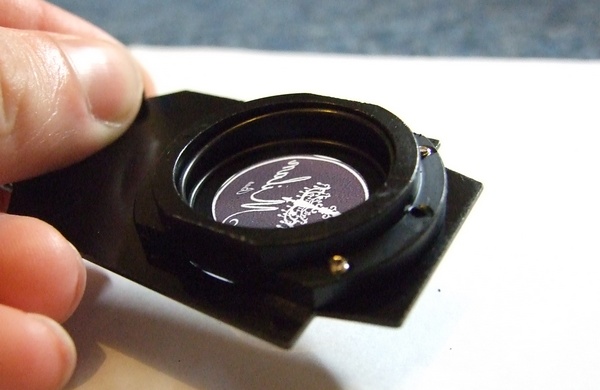
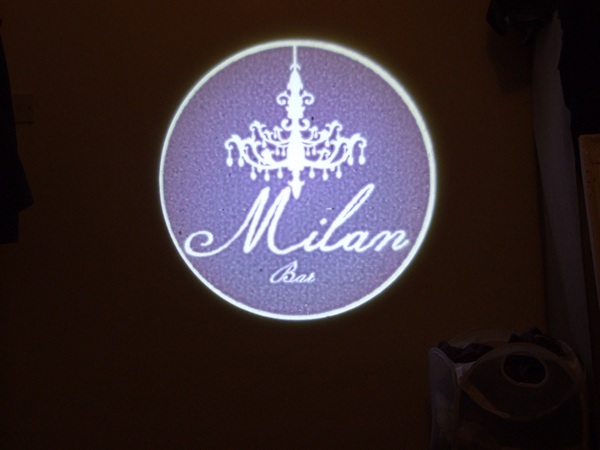
Cutting out the finished gobo is a tricky process. Get somebody with a steady hand to do this bit, as the tiny size of the gobo makes it very fiddly. A sharp Stanley knife may be easier than scissors. Once cut out, you'll need to install your gobo into the slide. When installing, try not to touch the gobo too much, as your fingerprints may show when the image is projected. For the Chauvet spotlight, the gobo must be upside down and the text reading right to left in order for it to display right in the projection. Other lights may be different, so if it shows up wrong, you'll need to try spinning it around. Once you've got it right, carefully tweak the zoom and focus to get a sharp and clear projection.

Now you can experiment by changing the print quality and colours of your design image. Colours in the image will generally show up a bit lighter than they appear on the computer monitor, so make them a little darker than you want them to display. When it comes to making the black areas dark enough, the trick is to get your printer to apply as much ink as possible. Set the print quality to its highest, so that the edges are sharper and more defined. This mode will also apply more ink. Experimentation is the key, so feel free to try out all the settings. Some images may look better if they are kept as black and white only, but this depends on your taste. Many images can be fitted onto a single sheet of transparency film, and doing so will save you money and wastage.
Once you've got the hang of it, the real fun begins. You can now design gobos for all kinds of events and parties. Suggest it to a friend for their wedding, add it to your living room as a feature, or shine your business logo onto the street for some super cost effective advertising!
